The standard height for kitchen countertops is 36 inches from the finished floor, but you’ll find custom installations ranging from 32 to 38 inches. Your height plays an essential role in determining the ideal counter height – taller individuals (over 5’8″) may prefer 38-39 inches, while shorter users (under 5’4″) might opt for 32-34 inches. For specialized zones like baking stations or prep areas, you’ll want to think about varying heights. Understanding supplementary ergonomic factors will help you create the perfect setup for your needs.
Standard Kitchen Countertop Heights and Industry Guidelines
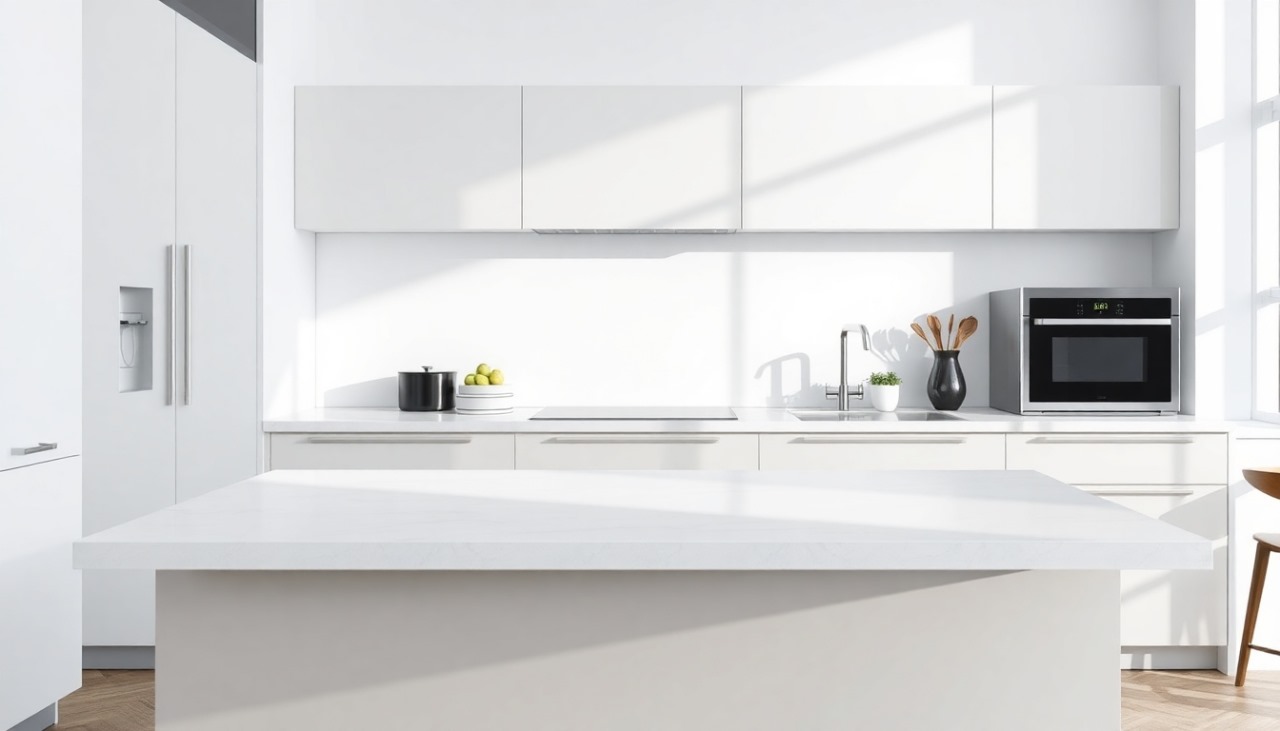
The standard height for kitchen countertops in residential construction is 36 inches from the finished floor to the top surface. This measurement has been established through decades of ergonomic research and remains consistent across most countertop materials, from granite to quartz to laminate.
You’ll find that current design trends occasionally push these boundaries, with some custom installations varying between 32 and 38 inches to accommodate specific user needs. However, the 36-inch standard guarantees ideal functionality for most adults performing common kitchen tasks. When you’re planning your kitchen, consider that this height provides a comfortable working surface for individuals between 5’4″ and 5’9″ tall. The thickness of your chosen countertop material will affect the comprehensive cabinet height needed to achieve this standard measurement.
Factors Affecting Optimal Counter Height Selection
When selecting your ideal counter height, multiple key factors must be taken into account beyond the standard 36-inch recommendation. Your height, physical capabilities, and specific kitchen tasks greatly influence the best counter height for your needs.
If you’re taller than 5’8″, you’ll want to think about raising your counter height to 38-39 inches to prevent back strain during food preparation. Conversely, if you’re under 5’4″, a lower counter height of 32-34 inches may prove more ergonomic. You’ll also need to factor in your primary cooking activities – baking requires lower surfaces for rolling dough, while chopping vegetables benefits from higher counters.
Think about your user preferences regarding appliance placement, mixing bowl usage, and whether you’ll primarily stand or use bar stools while working at your counters.
Specialty Counter Heights for Different Kitchen Zones
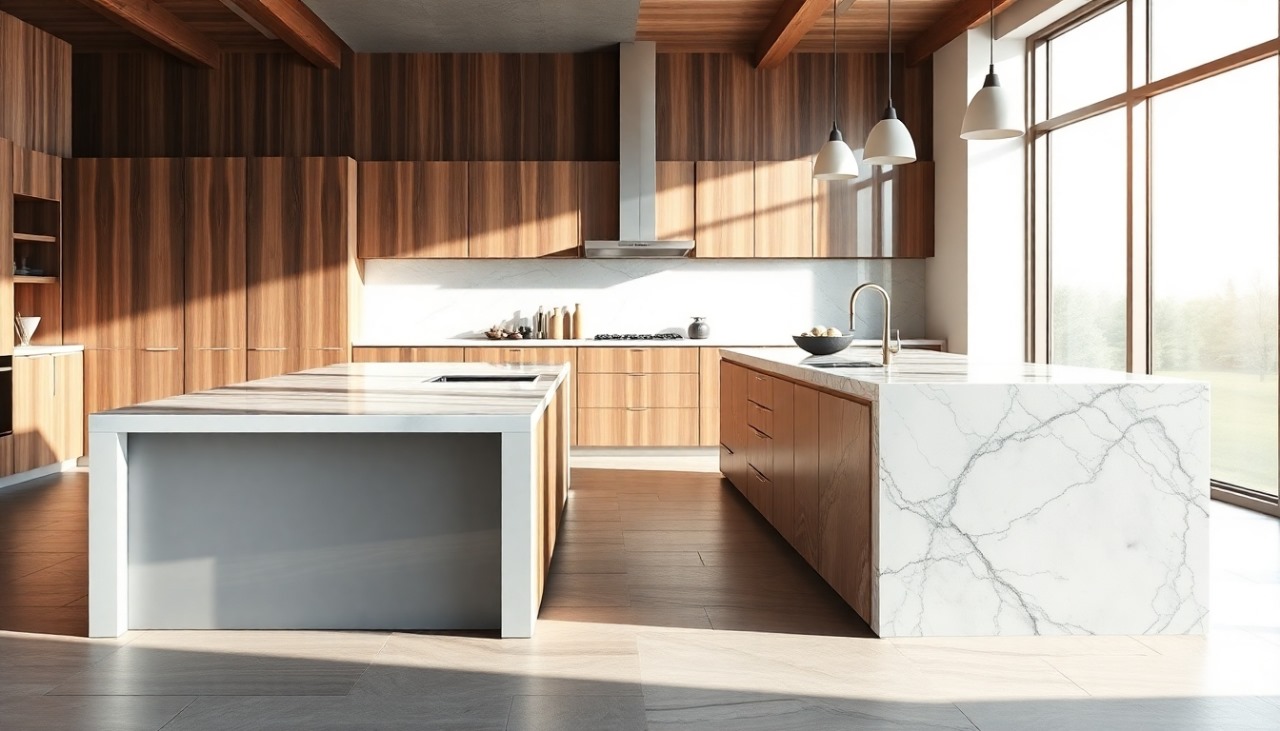
Building on personal ergonomic considerations, modern kitchens benefit from varying counter heights across different functional zones. You’ll find that specialized work areas perform better at non-standard heights to accommodate specific tasks and user preferences.
Smart kitchen design means customizing counter heights to match how you work, creating comfort zones that fit your unique needs.
- Island counters can be designed at 42 inches for casual dining and bar-style seating, compared to the standard 36-inch height for main countertops.
- Baking stations work best at 30-32 inches, allowing better utilization for kneading dough and rolling pastries while reducing shoulder strain.
- Prep zones near cooktops may be lowered to 34 inches for improved control while chopping and mixing ingredients.
When planning your kitchen layout, consider incorporating these varied heights to create ergonomic zones that match your cooking style and physical requirements. Each specialized area will improve both comfort and functionality during meal preparation.
Ergonomic Considerations and User Comfort
Proper ergonomic design in kitchen countertops hinges on three key factors: user height, task requirements, and physical movement patterns. You’ll find that adjustable countertops offer ideal flexibility, accommodating multiple users with varying physical needs and ensuring user accessibility throughout your kitchen workspace.
To maintain proper posture while working, your forearms should rest parallel to the counter surface at a 90-degree angle. This position reduces strain on your back, shoulders, and neck during food preparation tasks. Consider that different activities may require varying heights – chopping vegetables demands a lower surface than mixing ingredients or washing dishes. If you’re designing a kitchen that multiple family members will use, incorporating counters at different heights or installing adjustable sections can greatly improve comfort and prevent repetitive strain injuries.
ADA-Compliant Counter Height Requirements
The Americans with Disabilities Act (ADA) specifies strict requirements for accessible kitchen counter heights in public and commercial spaces. When you’re designing an ADA-compliant kitchen, you’ll need to follow these guidelines to guarantee accessibility for all users, including those who use wheelchairs or have other mobility considerations.
Accessible kitchen design isn’t optional – it’s essential for creating spaces that welcome and accommodate everyone, regardless of physical ability.
To meet ADA standards for accessible design, your countertops must adhere to these specific measurements:
- Work surface height should be no more than 34 inches from the finished floor
- Clear knee space beneath the counter must be at least 27 inches high, 30 inches wide, and 19 inches deep
- Front approach clearance requires a minimum 30-inch by 48-inch clear floor space
You’ll find that these requirements apply to at least one continuous counter section in commercial kitchens, guaranteeing functional workspace accessibility for all users.
Frequently Asked Questions
What Are the Best Materials for Countertops at Different Heights?
For standard-height counters, you’ll want granite or quartz for superior material durability and timeless design aesthetics. At bar-height surfaces, opt for engineered stone or stainless steel to withstand increased wear from stools and leaning. For lower accessible counters, consider solid surface materials like Corian, which offers seamless repairs and ergonomic comfort. Keep in mind that each height presents unique challenges, so match your material choice to both function and visual appeal.
How Much Does It Cost to Raise or Lower Existing Countertops?
You’ll typically spend between $1,000 to $3,500 for countertop height adjustments, depending on your specific renovation needs. Labor costs account for 40-60% of your total budget, while materials range from $200-800. You’ll need to contemplate supplementary expenses like plumbing modifications, cabinet alterations, and potential backsplash repairs. If you’re adjusting more than one section, your costs will increase proportionally. Complex height adjustments requiring structural changes can exceed $5,000.
Can Countertop Height Affect Home Resale Value?
Yes, your countertop height can impact your home’s resale value. Current resale trends show that non-standard heights might limit your buyer pool and potentially decrease offers. While standard 36-inch countertops appeal to most buyers, you’ll find that ergonomic designs and customized heights can either improve or detract from your home’s marketability. Your countertop aesthetics should align with both functionality and current design preferences to maintain ideal resale potential.
How Often Do Homeowners Change Their Countertop Heights After Installation?
You’ll find that countertop adjustments after initial installation are relatively rare, occurring in less than 5% of homes. Most homeowner preferences for height changes typically emerge during major kitchen renovations, rather than as standalone projects. When you do modify heights, it’s usually due to accessibility needs, aging-in-place considerations, or significant lifestyle changes. The cost and complexity of post-installation height modifications often deter homeowners from making these changes unless absolutely necessary.
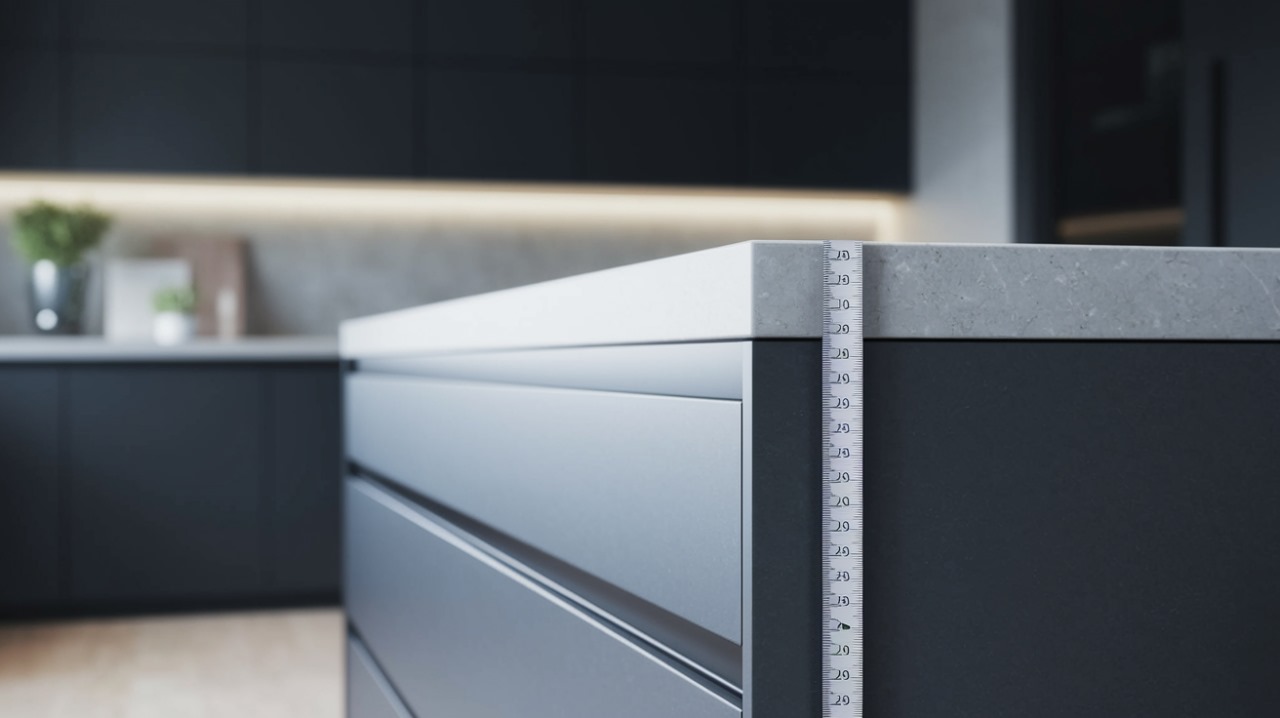
What Tools Are Needed to Measure Countertop Height Accurately at Home?
To accurately measure countertop height, you’ll need several essential measuring tools: a laser level for precision, a quality tape measure with clear markings, and a carpenter’s level to guarantee surface flatness. For height adjustments, it’s helpful to have a combination square and marking pencil. You’ll also want a straight edge or long level to span any dips in the surface. Keep a notepad handy to record multiple measurements across different points.