To master kitchen countertop installation, you need to follow a clear, step-by-step process. Start by choosing your material—granite or quartz are popular options. Next, measure your space accurately, noting dimensions and any irregularities. Prepare your area by clearing countertops and covering the floor. When cutting the countertop, guarantee precise measurements for all edges and cutouts. Install it by applying adhesive and leveling it correctly. Don't forget to seal and finish your countertop for added protection. To keep it looking great, employ regular maintenance tips that will extend its lifespan. There's much more to explore about this process.
Choosing the Right Material

With respect to selecting a kitchen countertop, the material you choose can make a significant difference in both functionality and aesthetics.
Two popular options are granite and quartz, each offering distinct advantages. Granite is a natural stone, known for its unique patterns and durability. It's heat-resistant and can withstand heavy use, making it ideal for busy kitchens. However, granite requires regular sealing to prevent staining, which is a key maintenance consideration.
On the other hand, quartz is an engineered stone, combining natural quartz crystals with resins. It's non-porous, meaning it doesn't require sealing and is generally easier to maintain. If you're looking for a wider variety of colors and patterns, quartz might be your best bet.
When it comes to budget considerations, granite typically has a lower initial cost, but you should factor in potential sealing expenses over time. Quartz tends to be pricier upfront, but its low maintenance may save you money in the long run.
Ultimately, weigh your priorities carefully—whether you value natural beauty or low upkeep—as these factors will guide your choice between granite vs quartz.
Measuring Your Space
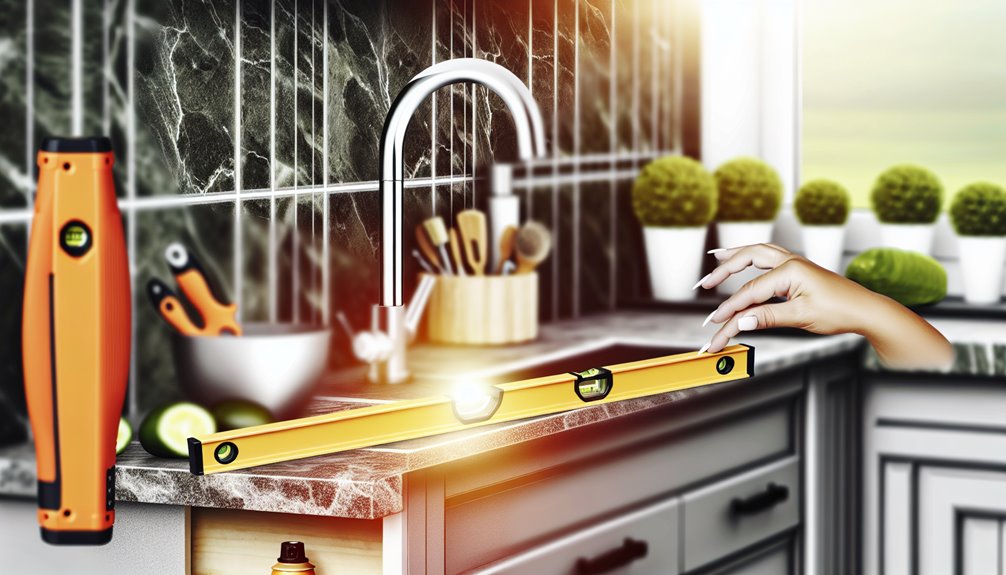
Before you start measuring your space for new countertops, gather the essential tools: a tape measure, a level, and a notepad.
Accuracy is vital, so make certain to use key techniques, like measuring from multiple points and accounting for any irregularities in your walls.
With the right approach, you'll guarantee that your new countertops fit perfectly.
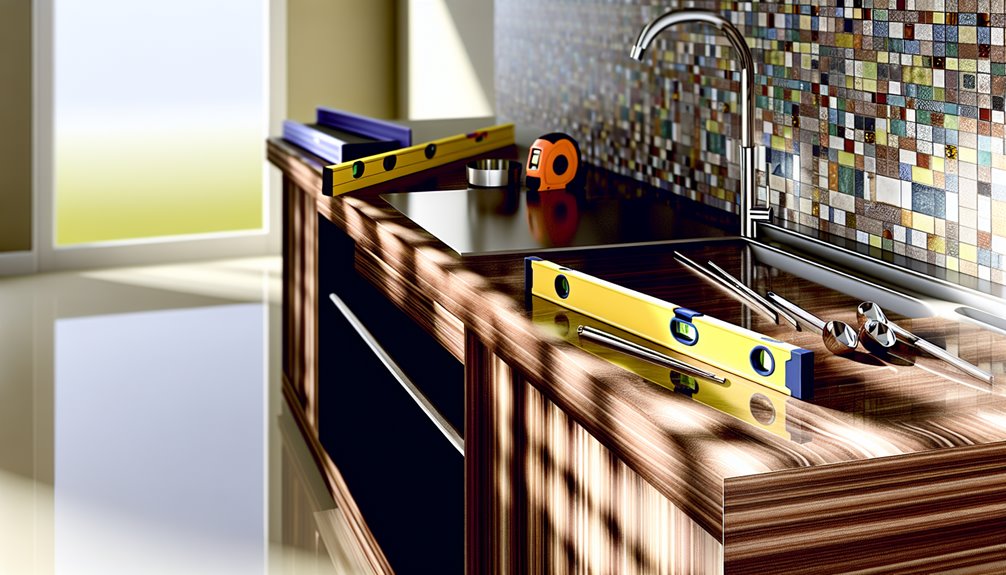
Tools Needed for Measuring
Accurate measurements are the backbone of a successful kitchen countertop installation. To achieve this, you'll need a few essential tools that guarantee precision and reliability.
Start with a high-quality tape measure. Its tape measure accuracy is critical for measuring length, width, and depth. Opt for a 25-foot tape for versatile applications, and make sure it has clear markings for easy reading.
Additionally, invest in digital measuring tools, like a laser distance measurer. This tool offers a quick and accurate way to measure long distances, especially in tight spaces where a traditional tape measure might be cumbersome. You'll appreciate how it can save time and reduce the chances of human error.
Don't forget a sturdy straight edge or level, which helps guarantee your measurements are straight and even. A notepad or a digital device for recording your measurements is also handy.
Finally, consider a calculator for any necessary conversions or to double-check your figures. With these tools at your disposal, you'll be well-equipped to tackle the measuring process, setting the stage for a flawless countertop installation.
Key Measurement Techniques
Start by visualizing your space and identifying key areas where the countertop will be installed. Accurate measurements are vital in guaranteeing your countertop fits perfectly. To achieve this, use consistent measurement units, whether inches or centimeters. Here are some essential techniques:
| Measurement Type | Description | Tips |
|---|---|---|
| Length | Measure the length of each countertop section. | Use a tape measure for precision. |
| Depth | Measure how deep the countertop needs to be. | Account for overhangs and appliances. |
| Height | Measure from the floor to the desired countertop height. | Confirm it's comfortable for usage. |
| Corner Angles | Measure angles at corners for accurate fitting. | Use a protractor for exact measurements. |
| Backsplash Height | Measure the height of the backsplash area. | Consider design preferences and appliance heights. |
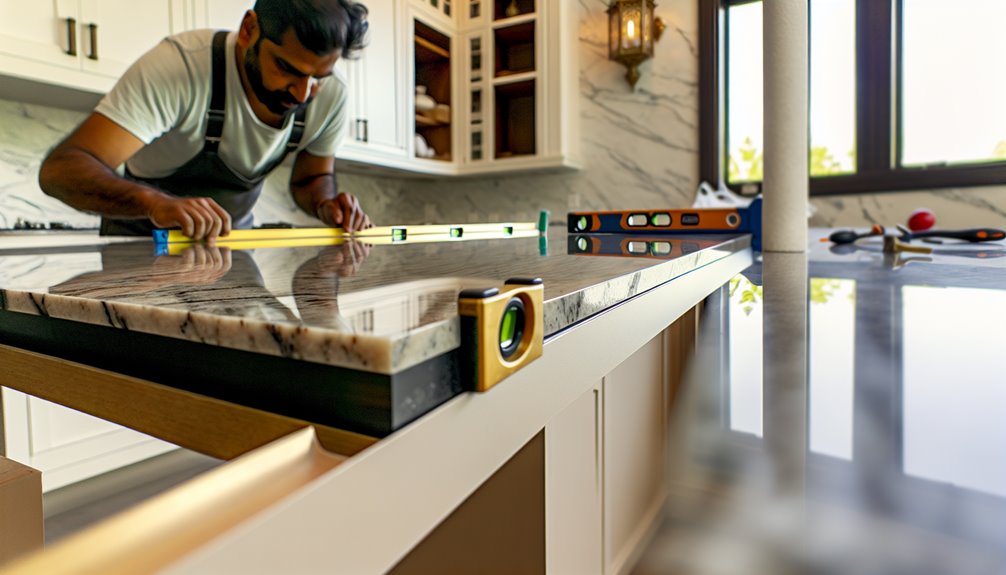
Preparing for Installation
Preparing your kitchen for a countertop installation is essential for guaranteeing a smooth process and a satisfying end result. Start by evaluating your budget considerations. Determine how much you're willing to spend, factoring in the cost of materials, labor, and any potential unexpected expenses. Having a clear budget will help you make informed decisions throughout the process.
Next, establish your installation timeline. Coordinate with contractors or suppliers to determine how long the installation will take and when it fits into your schedule. This will help you prepare your kitchen in advance, minimizing disruptions.
Clear your countertops and remove any items stored in cabinets or drawers that may obstruct the installation. If you're replacing the sink or appliances, make sure to disconnect them safely.
It's also a good idea to protect your flooring by covering it with drop cloths, especially if you're working with heavy materials that could cause damage.
Finally, ensure that the workspace is well-lit and accessible for the installation team. By taking these practical steps, you'll set the stage for a successful countertop installation and enjoy the beautiful transformation of your kitchen.
Cutting the Countertop
Before you start cutting your countertop, you need to accurately measure your dimensions to guarantee a perfect fit.
Choosing the right tools is essential, as having the proper equipment will make the cutting process smoother and safer.
Let's explore how to take precise measurements and select the best tools for the job.
Measuring Countertop Dimensions
Measuring countertop dimensions accurately is essential for a successful installation, as even minor miscalculations can lead to costly mistakes. Start by gathering the necessary tools: a tape measure, level, and a notepad for recording your measurements.
First, measure the length and width of your cabinets to determine the overall dimensions of your countertop. Keep in mind that different countertop types, like granite, laminate, or quartz, may require specific considerations for thickness and edge profiles.
When measuring, always measure from multiple points to guarantee consistency, as cabinets can be uneven. Record your measurements in both inches and millimeters for precision.
Don't forget to account for any overhang you want on the edges—typically, a 1 to 1.5-inch overhang is standard for most installations.
Additionally, if there are any cutouts for sinks or appliances, measure their dimensions carefully. Write down these measurements and double-check them for accuracy before proceeding to the cutting stage.
Choosing the Right Tools
With your countertop dimensions accurately measured, the next step is gathering the right tools for cutting the material. You'll need a few essential tool types to guarantee a clean and precise cut.
Start with a circular saw, which is excellent for straight cuts in materials like laminate and wood. If you're working with granite or quartz, a wet saw is ideal, as it reduces dust and helps prevent chipping.
Don't forget a jigsaw for curved cuts, especially if your design includes intricate edges. Make certain you have a quality measuring tape, straightedge, and clamps to secure your countertop while cutting. Tool brands like DeWalt and Makita are known for their reliability, so consider investing in them for better performance.
Additionally, wear safety gear, including goggles and gloves, to protect yourself during the cutting process.
Having the right tools not just makes the job easier but also guarantees a professional finish. So, take the time to gather everything you need before moving forward, and your countertop installation will go much smoother.
Installing the Countertop
When you're ready to install the countertop, guarantee you have all your tools and materials on hand for a smooth process.
Begin by carefully positioning the countertop styles you've chosen on the cabinets. Make certain the surface is level; if not, you may face installation challenges that can complicate the process.
Next, secure the countertop by applying a bead of adhesive along the top edges of the cabinets. Lower the countertop gently onto the cabinets, making sure it aligns properly with any existing seams or edges. Use a level to check for evenness, adjusting as necessary. If you've opted for multiple pieces, confirm the seams are tightly joined.
Once positioned, use clamps to hold the countertop in place while the adhesive sets. Be cautious with the pressure, as you don't want to damage the surface. Allow the adhesive to cure according to the manufacturer's instructions, typically around 24 hours.
Finally, double-check alignment and secure any additional features, like sinks or cooktops, before moving on. This step is essential for a polished, professional look that stands up to everyday use.
Sealing and Finishing Touches
Sealing your countertop is an important step that protects the surface and enhances its longevity. Depending on the material you chose—like granite, quartz, or wood—different sealing techniques will apply.
For natural stone, a penetrating sealer works best, as it seeps into the pores and provides a protective barrier against stains and moisture. You can apply it using a clean cloth or a foam applicator, guaranteeing even coverage.
For wood countertops, a food-safe finish, such as mineral oil or a polyurethane sealant, is vital. Apply the finishing product in thin, even coats, allowing adequate drying time between layers. Aim for at least three coats for the best protection.
After sealing, you can add finishing touches to enhance your countertop's appearance. Consider using a high-quality beeswax or a specialized countertop polish for added shine and protection. These finishing products not merely improve aesthetics but also provide an additional layer of defense against everyday wear.
Always follow the manufacturer's instructions for both sealing techniques and finishing products to achieve the best results.
With proper sealing and finishing, your countertop will remain beautiful and functional for years to come.
Maintenance Tips for Longevity
How can you assure your countertop stays in top shape for years to come? By following a few simple maintenance tips, you can guarantee its longevity and beauty.
Start with effective cleaning techniques. Use a soft cloth and a gentle soap solution for daily cleaning, avoiding harsh chemicals that could damage the surface. For stone countertops, incorporate a pH-balanced cleaner that won't strip the sealant.
Preventive measures are just as important. Always use cutting boards to avoid scratches and chips, and place hot pots or pans on trivets to prevent heat damage.
If you have a porous material like granite or marble, remember to reseal it every 1-2 years to maintain its protective barrier against stains.
Be mindful of spills—clean them up immediately to prevent staining. If you notice any dull spots, use a countertop polish designed for your specific material to restore its shine.
Finally, keep an eye on the edges and seams; if they start to show wear, consider re-sealing or touching up the area.
Frequently Asked Questions
How Long Does a Typical Countertop Installation Take?
The installation duration for a typical countertop can vary, but you can expect it to take anywhere from a few hours to a couple of days.
If you're having a simple laminate countertop installed, it might be quicker, but solid surfaces or stone materials may extend your project timeline due to the need for precise measurements and cutting.
Planning ahead and communicating with your installer can help guarantee a smoother process.
What Tools Are Essential for This Project?
For a successful countertop installation, you'll need a few essential tools.
Start with a tape measure and a level to guarantee accurate measurements. A circular saw or jigsaw is vital for cutting countertop materials, while a drill helps with installation techniques.
Don't forget clamps to secure pieces together and a caulking gun for sealing edges. Safety gear, like goggles and gloves, is also important to protect yourself during the process.
Do I Need Professional Help for Installation?
When deciding between DIY and professional help for installation, think of it like a dance. You can lead, but sometimes a partner's expertise makes the steps smoother.
If you're comfortable with tools and have the time, a DIY approach can save costs. However, consider the complexity of your project; intricate designs may warrant hiring a pro.
Weigh your skills against the potential expenses to find the right rhythm for your countertop journey.
Can I Install Countertops on My Own?
Yes, you can install countertops on your own! With the right tools and some DIY countertops knowledge, you'll find it's not as intimidating as it seems.
Start by measuring your space accurately and choosing a suitable material.
Installation tips include using a helper for heavy slabs, ensuring a level surface, and securing the countertops properly.
Take your time, follow guidelines, and you'll achieve a professional-looking finish without hiring someone else.
What Should I Do if I Make a Mistake?
Did you know that nearly 30% of DIY projects encounter at least one mistake?
If you make a mistake during your countertop installation, don't panic! Start by evaluating the issue.
For minor errors, like small cuts, you can often fix them with filler or wood glue.
For bigger problems, consider using troubleshooting tips such as re-measuring or re-cutting.
Conclusion
Now that you've mastered kitchen countertop installation, you're ready to enjoy your new space just like a modern-day chef whipping up a gourmet meal. With the right material, precise measurements, and careful installation, your countertops will not just look fantastic but also last for years. Remember to keep up with maintenance to guarantee they remain in tip-top shape. So roll up your sleeves, grab your tools, and get ready to impress your family and friends!