To seal butcher block countertops professionally, you’ll need to start with thorough surface preparation using progressive-grit sandpaper (80 to 220-grit) and mineral spirits. Select an FDA-approved food-safe sealer like mineral oil, tung oil, or polymerized finish. Apply your chosen sealer in 3-4 thin coats, allowing 24-hour cure time between applications and light sanding with 320-grit. Maintain consistent grain-direction strokes and room conditions (65-75°F, <50% humidity). Master these fundamental steps to reveal advanced sealing techniques.
Preparing Your Butcher Block Surface
Before beginning the sealing process, your butcher block countertop requires thorough preparation to guarantee ideal oil absorption and long-lasting protection. Start by implementing proper cleaning techniques to remove existing residue, food particles, and surface contaminants. Use a food-grade cleaner or a mixture of white vinegar and water, followed by thorough drying.
Surface preparation continues with progressive sanding. You’ll need to work through multiple grits, starting with 80-grit sandpaper to remove any deep scratches or stains, then progress to 120-grit for smoothing, and finish with 220-grit for optimal surface enhancement. Vacuum between grits to remove wood dust, and wipe the surface with mineral spirits to reveal any imperfections. Once you’ve achieved a uniformly smooth finish, remove all dust particles with a tack cloth before proceeding to the sealing phase.
Choosing the Right Sealer for Your Needs
When selecting a sealer for your butcher block countertops, you’ll need to evaluate several food-safe options that provide ideal protection and durability. The most common types of sealers include mineral oil, tung oil, and polymerized finishes, each offering distinct advantages for different usage scenarios.
For cutting surfaces, food-grade mineral oil provides excellent penetration and requires regular reapplication every 4-6 weeks. Tung oil creates a more permanent, water-resistant barrier but needs multiple coats during sealer application. Polymerized finishes like Waterlox offer superior moisture protection and longevity, though they’re not suitable for direct food contact areas.
Consider your countertop’s primary function: food prep areas require mineral oil, while surfaces near sinks benefit from water-resistant polymerized sealers. Always verify FDA approval for food contact surfaces before application.
Applying the First Coat of Sealer
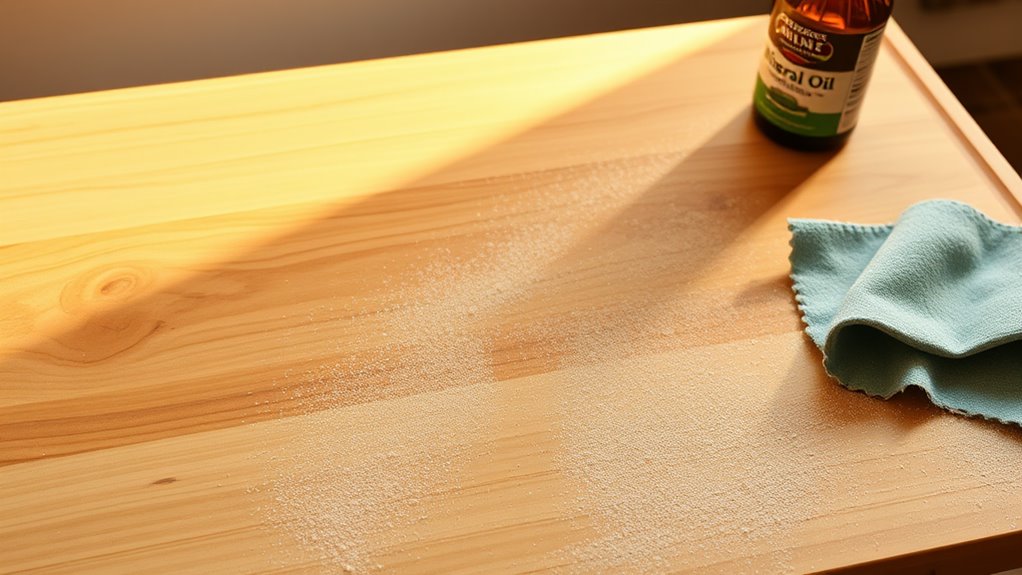
Proper application of the initial sealer coat requires three essential preparation steps. To begin, make certain your butcher block surface is completely dust-free using a tack cloth. Next, maintain room temperature between 65-75°F with relative humidity below 50%. Lastly, strain your sealer to remove any particulates that could compromise the finish.
For best sealer application techniques, use a high-quality natural bristle brush or foam applicator, applying the product in long, even strokes parallel to the wood grain. Don’t oversaturate the surface – you’re aiming for a thin, uniform coat. Work systematically from one end to the other, maintaining a wet edge to prevent lap marks. Allow the sealer to penetrate for 15 minutes, then wipe off any excess with a lint-free cloth. Under ideal drying conditions, let the initial coat cure for 24 hours before proceeding.
Building Protection With Multiple Layers
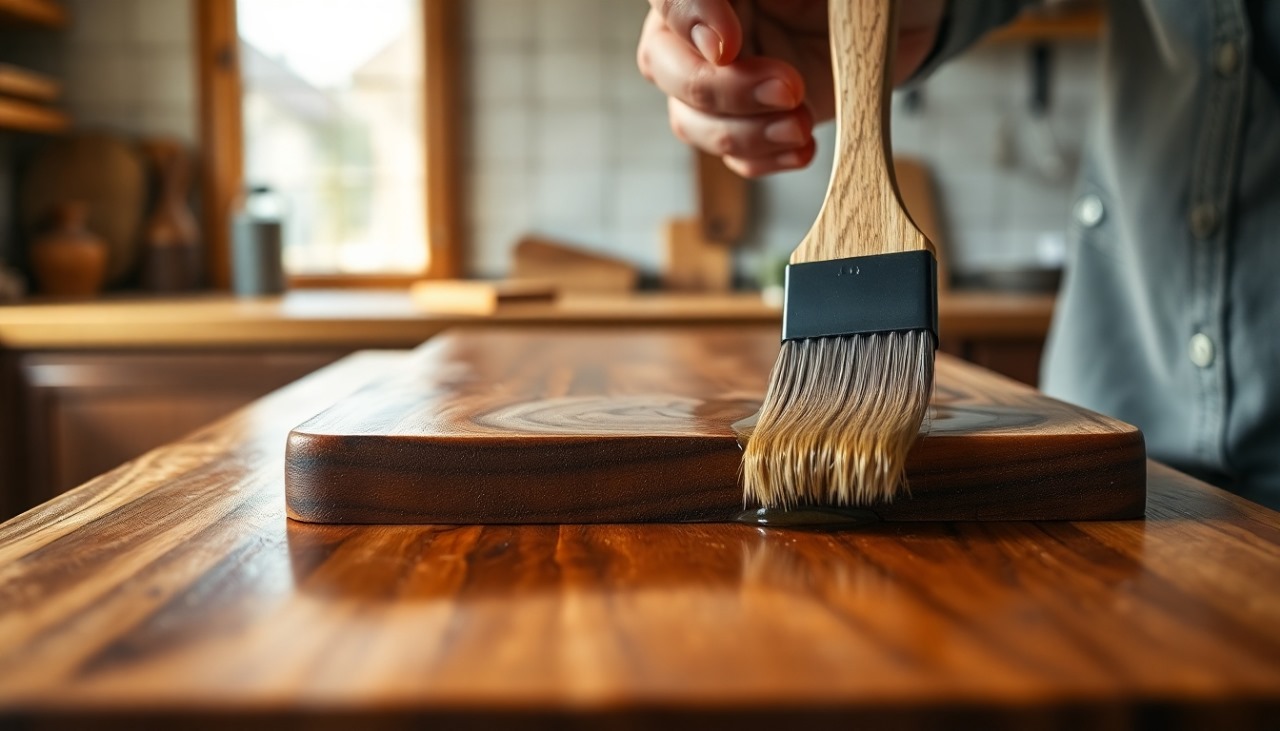
Multiple coats of sealer create a durable, moisture-resistant barrier that’s essential for long-term butcher block protection. You’ll need to apply 3-4 layers, allowing each coat to dry completely for 24 hours before proceeding to the next application.
Between layer types, you’ll want to sand lightly with 320-grit sandpaper, removing any raised grain or imperfections. Different sealing techniques can be employed depending on your sealer type – use a foam brush for oil-based products, while water-based sealers work best with a natural bristle brush. Apply each coat in the direction of the wood grain, maintaining consistent pressure and overlap.
For maximum durability, alternate between penetrating oil sealers and surface finishes. This combination creates a strong defense system that protects against water damage and daily wear.
Maintaining Your Sealed Butcher Block
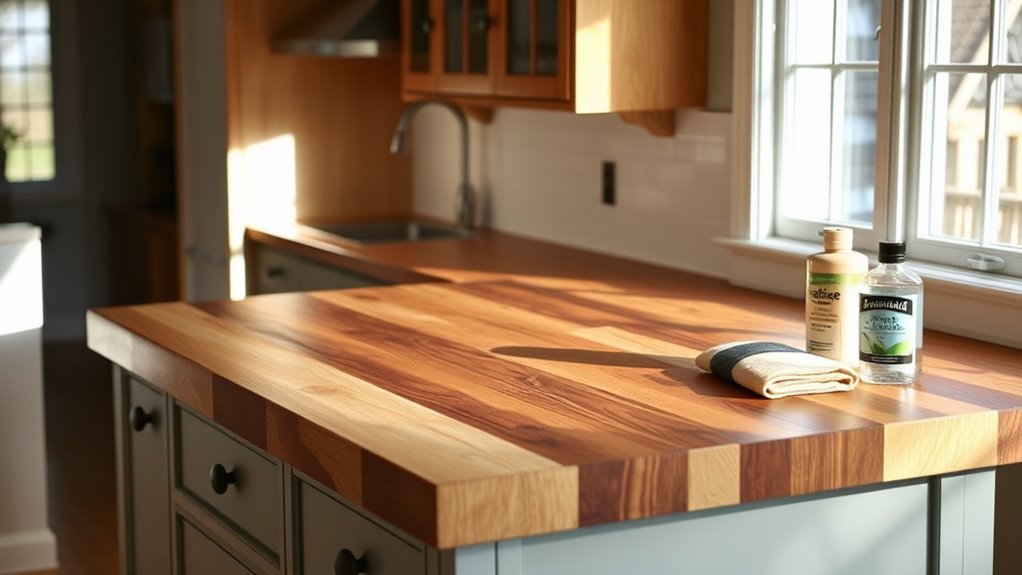
Regular maintenance of your sealed butcher block requires a consistent care routine to preserve its protective barrier and extend its lifespan. Implement a maintenance schedule that includes weekly inspections for wear, water damage, or seal deterioration.
For daily cleaning tips, use a mild dish soap solution and a soft microfiber cloth, immediately wiping away spills and moisture. Don’t allow standing water to penetrate the surface. Every three months, assess the water-beading capability of your sealer by performing a droplet test. If water no longer beads, it’s time to reapply your sealant.
Annually, lightly sand any rough spots with 220-grit sandpaper, then apply a fresh coat of food-grade sealer. Avoid harsh chemicals, abrasive scrubbers, or direct heat exposure, as these can compromise your block’s protective barrier.
Frequently Asked Questions
Can I Install a Sink in a Butcher Block Countertop?
You can install a sink in a butcher block countertop, but you’ll need to take specific precautions for proper sink installation and countertop maintenance. Use a high-quality silicone sealant around the sink’s perimeter and apply multiple coats of marine-grade finish to protect the exposed wood edges. It’s essential to regularly inspect and reseal these areas to prevent water damage. Consider installing an undermount sink to minimize water exposure to the wood surface.
How Long Should Butcher Block Cure Before Installing?
You’ll need to allow your butcher block to cure completely before installation to prevent warping and movement. For ideal results, let your block acclimate in your home’s environment for at least 72 hours. The full curing time depends on your sealing method: oil-based sealants require 24-48 hours between coats and 72 hours after the final coat, while water-based finishes typically need 72 hours total. Pro installation tip: maintain room temperature and 45-50% humidity during curing.
What’s the Average Lifespan of a Properly Sealed Butcher Block Counter?
With proper maintenance, your butcher block countertop can last 20-30 years. You’ll need to follow essential maintenance tips, including resealing every 6-12 months depending on use. Watch for signs like water absorption or dull spots, which indicate it’s time for resealing. Daily cleaning with food-safe cleansers, prompt spill cleanup, and avoiding direct heat exposure will enhance longevity. Regular mineral oil applications between major sealing sessions help prevent wood drying and cracking.
Can Butcher Block Be Safely Used as a Bathroom Vanity?
Yes, you can use butcher block as a bathroom vanity, but you’ll need to implement specific maintenance tips to guarantee longevity. Apply a marine-grade finish or waterproof sealant to combat moisture concerns. Install a vessel sink above the counter rather than an undermount to minimize water exposure. You’ll need to regularly inspect for water penetration and reapply sealant annually. Position your vanity away from direct splash zones and maintain proper ventilation in your bathroom.
How Much Weight Can Butcher Block Countertops Safely Support?
Your butcher block countertop’s load capacity primarily depends on its thickness and support structure. For standard 1.5-inch thick butcher block, you’ll find it can support 50-75 pounds per square foot when properly installed with supports every 18-24 inches. Weight distribution is essential – you’ll want to guarantee even spacing of heavy items. For concentrated loads, like mounted sinks or appliances, you’ll need supplementary bracing and strategic support placement beneath these stress points.