
To cut a laminate countertop like a pro, you’ll need to follow five essential steps. Start by gathering your tools, including a circular saw with a fine-toothed blade and safety equipment. Next, measure twice and mark your cutting lines precisely with masking tape to prevent chipping. Set up a stable workspace and secure the countertop firmly. Make your cut with steady, controlled movements, keeping the saw’s baseplate flat. Ultimately, sand and seal the edge for a professional finish. These proven techniques will transform you into a countertop cutting expert.
Gather Your Essential Tools and Safety Equipment
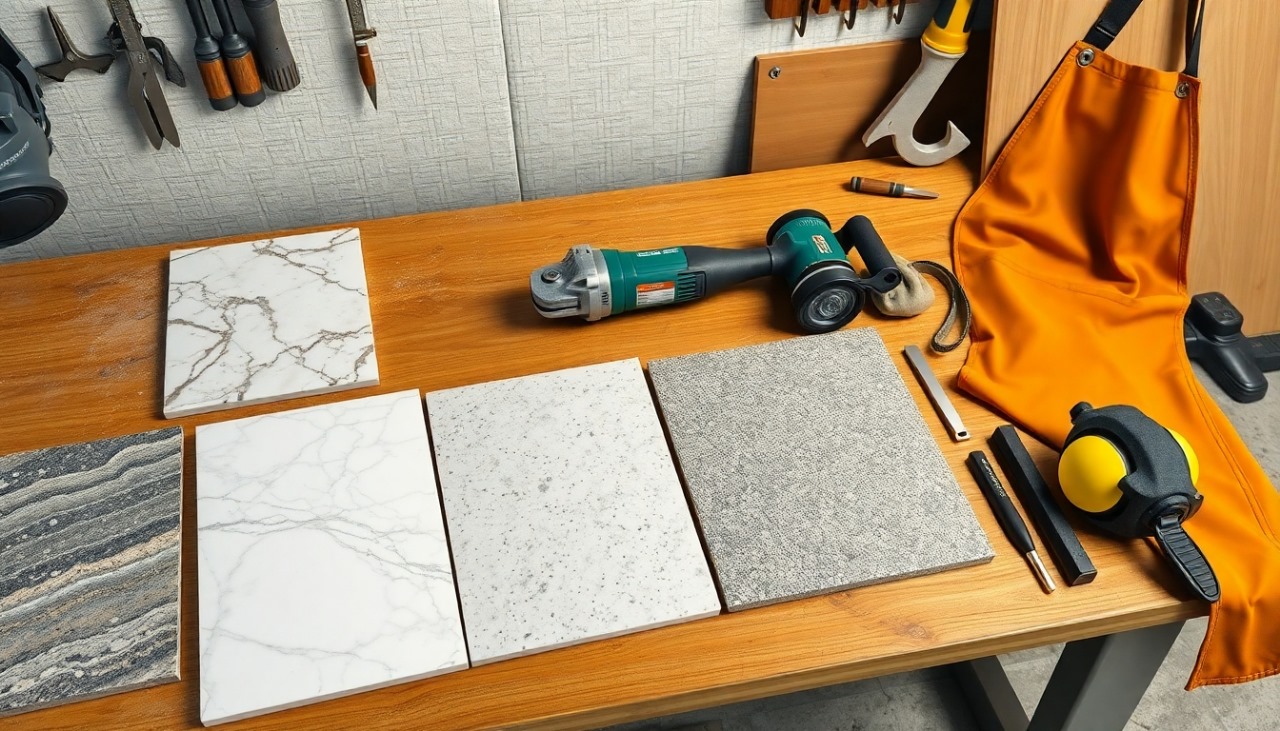
Before starting any countertop cutting project, you’ll need essential tools including a circular saw with a fine-toothed blade, measuring tape, pencil, straightedge, masking tape, and a sturdy workbench or sawhorses.
Your tool selection should also include clamps to secure the countertop and a carpenter’s square for precise measurements. Don’t forget crucial safety gear: safety glasses to protect your eyes from flying debris, ear protection to guard against loud saw noise, and a dust mask to prevent inhaling harmful particles. You’ll also need work gloves for handling the sharp edges of the laminate.
Keep all your tools organized and within easy reach, but away from the cutting area. Double-check that your circular saw is in good working condition and the blade is sharp before beginning.
Measure and Mark Your Cutting Lines
Accurate measurements and clear markings serve as your blueprint for a perfect cut. Using professional measuring techniques, measure the length and width of your desired cut twice to guarantee precision. Mark your cutting lines with a straightedge and pencil, making sure they’re dark enough to remain visible throughout the cutting process.
For inside corners, you’ll need to account for a 1/8-inch expansion gap. When marking curved cuts, use a template or compass to create smooth, consistent lines. Consider these marking tips: place masking tape along your cutting line to prevent chipping, and draw arrows indicating which side of the line you’ll cut. Double-check all measurements against your layout plan before proceeding, as mistakes at this stage can be costly and time-consuming to correct.
Set Up Your Workspace and Secure the Countertop
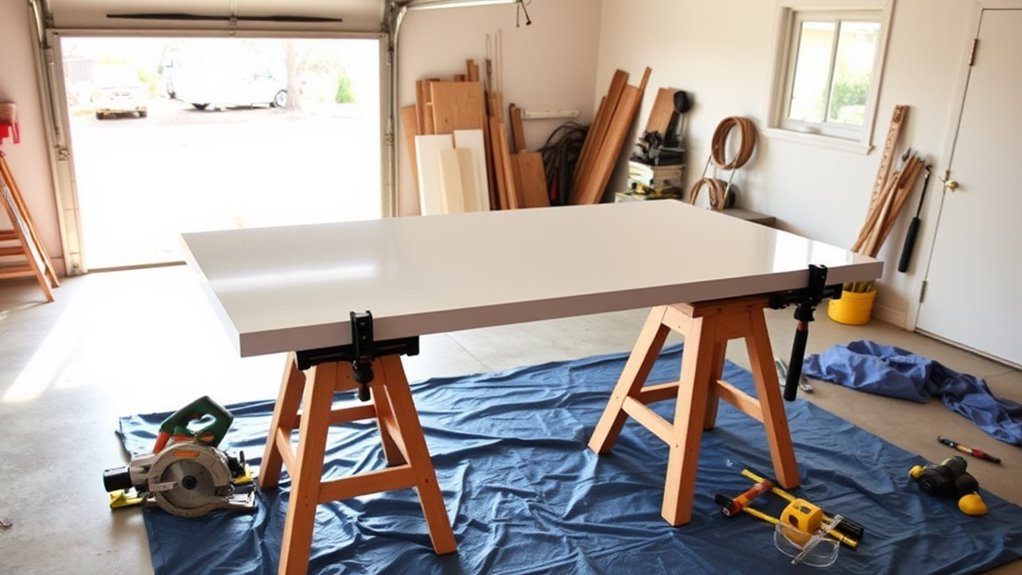
With your cutting lines properly marked, the next step demands a well-organized workspace to guarantee a safe and precise cut. Clear away all tools, debris, and materials that aren’t essential for the cutting process. You’ll need at least 6 feet of open space to maneuver comfortably.
Position your countertop on a sturdy workbench or pair of sawhorses, ensuring proper workspace organization. The section you’re cutting should extend beyond the support by at least 12 inches. For ideal countertop stability, clamp the piece firmly to your work surface, placing clamps on both sides. Don’t forget to support the piece that will be cut off to prevent splintering. Double-check that nothing interferes with your planned cutting path and that you have clear access to move your saw through the entire cut.
Make the Perfect Cut With a Circular Saw
Making a perfect cut in laminate requires two essential steps before powering up your circular saw. Initially, apply masking tape along your cutting line to prevent chipping, as laminate material properties make it prone to splintering. Second, score the surface lightly with a utility knife to create a clean starting point.
Now, position your circular saw with the blade on the waste side of the line. Use circular saw techniques that professionals rely on: start with the blade fully retracted, then slowly lower it into the countertop while maintaining steady forward motion. Keep the saw’s baseplate flat against the surface and move at a consistent speed – too fast will chip the laminate, too slow will create heat marks. Once you’ve completed the cut, sand any rough edges with fine-grit sandpaper.
Sand and Finish the Cut Edge
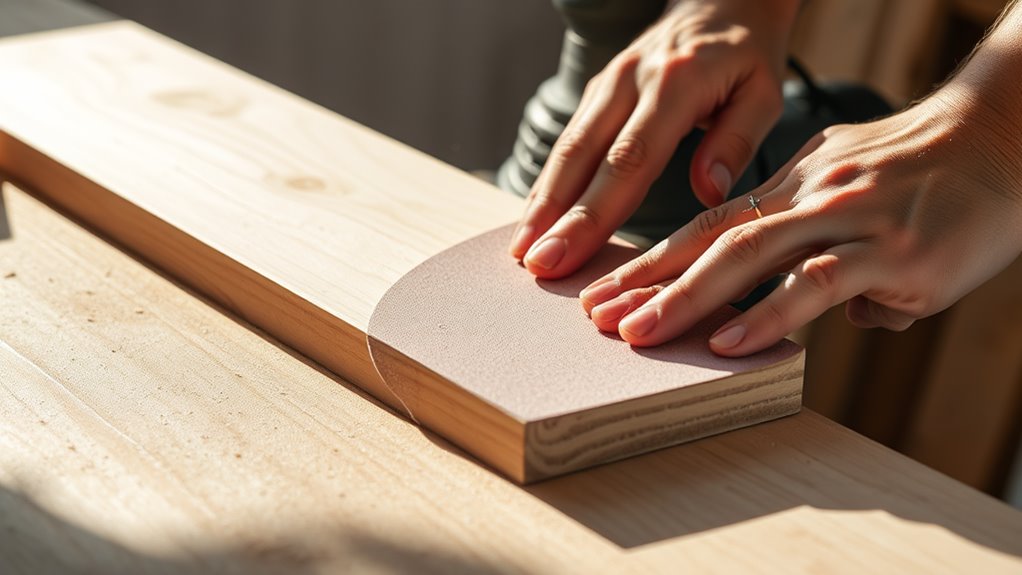
Properly sanding the cut edge guarantees a smooth, professional finish that resists chipping and wear. You’ll need to apply sanding techniques in stages, starting with medium-grit sandpaper (120-grit) and progressing to fine-grit (220-grit) for ideal results.
Hold your sandpaper flat against the cut edge and work in one direction using steady, even pressure. Don’t rush this process – take your time to achieve a uniform surface. After sanding, wipe away any dust with a clean cloth. For edge finishing, apply a thin coat of clear silicone sealant or laminate edge sealer to protect against moisture infiltration. If you’re using edge banding, verify the surface is completely smooth before application. Once finished, run your fingers along the edge to check for any rough spots that might need further attention.
Frequently Asked Questions
Can I Cut Laminate Countertops During Cold Weather?
You can cut laminate countertops in cold weather, but you’ll need to take extra precautions. Cold temperatures can make the laminate more brittle and prone to chipping. It’s best to store your countertop in a heated space for 24 hours before cutting. Keep your laminate cutting tools at room temperature, and work in a sheltered area. If you must cut outdoors, use slower cutting speeds to prevent cracking and damage.
How Long Should I Wait Before Installing a Newly Cut Countertop?
You should wait at least 24 hours between cutting your countertop and installation to allow any adhesives or sealants to properly cure. If you’ve used contact cement or other bonding materials, they’ll need this time to reach full strength. For the best results, keep the cut countertop in a climate-controlled space during this waiting period. Don’t rush the installation timing, as proper curing guarantees a secure, long-lasting fit.
What’s the Best Way to Repair Chips in Laminate After Cutting?
For effective chip repair in laminate, you’ll need a color-matched laminate repair kit from your local hardware store. Clean the chipped area thoroughly, then apply the repair compound in thin layers, allowing each layer to dry completely. Don’t overfill. Once dry, sand the area gently with fine-grit sandpaper until it’s level with the surrounding surface. Ultimately, apply the laminate finish sealer to match the countertop’s sheen and protect the repair.
Can I Use a Jigsaw Instead of a Circular Saw?
While you can use a jigsaw to cut laminate countertops, it’s not your best option. A jigsaw’s main limitations include blade wandering and potential chipping along the cut line. You’ll get much cleaner, straighter cuts with a circular saw equipped with a fine-toothed blade. If you must use a jigsaw, choose a fine-tooth blade designed for laminates, and be sure to secure a straight edge guide to prevent the blade from veering off course.
How Do I Match the Color of the Cut Edge Perfectly?
You’ll find several color matching techniques to finish your laminate edge perfectly. The most reliable option is using color-matched edge banding that’s specifically designed for your laminate pattern. If that’s not available, try using color-matched sealant or laminate repair paste. For edge finishing options, you can also apply matching laminate strips with contact cement or use T-molding that closely matches your countertop’s color. Always test your chosen solution on a scrap piece initially.