For a DIY kitchen makeover, consider high-quality countertop paints like epoxy resin or chalk paint. Epoxy resin offers a durable, glossy finish that mimics natural stone, perfect for long-lasting results. On the other hand, chalk paint is easy to apply and customizable but requires a topcoat for added durability. Guarantee you prepare your surfaces by cleaning, sanding, and priming for the best adhesion. Brands like Rust-Oleum and Behr Premium Plus provide excellent options with good coverage and resistance to scratches and stains. Explore these choices to find the perfect fit for your kitchen transformation adventure.
Overview of Countertop Paints
When considering a DIY kitchen makeover, have you thought about the transformative power of countertop paints? These paints can breathe new life into your kitchen surfaces, offering a stylish and cost-effective solution. The beauty of countertop paints lies in their versatility; you can achieve a wide range of looks, from sleek modern finishes to rustic charm.
Before diving into your project, proper surface preparation is key. You'll need to clean, sand, and prime your countertops to guarantee the paint adheres well. Skipping this step can lead to peeling and chipping, which defeats the purpose of your makeover.
Make certain to choose a paint specifically designed for countertops to ensure durability. Additionally, if you're concerned about environmental impact, there are eco-friendly options available. These paints minimize harmful emissions, making them a safer choice for your home and the planet.
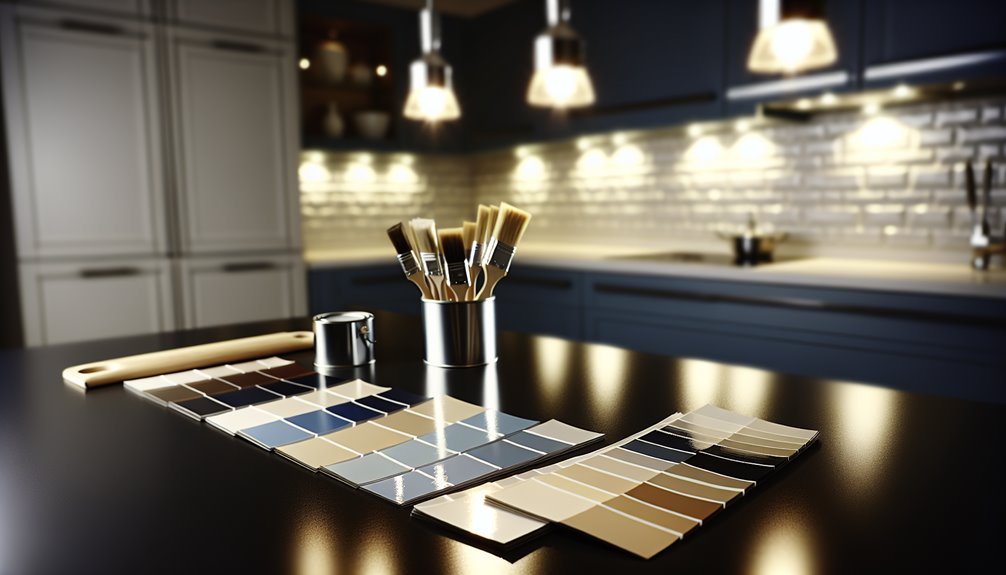
Types of Countertop Paint
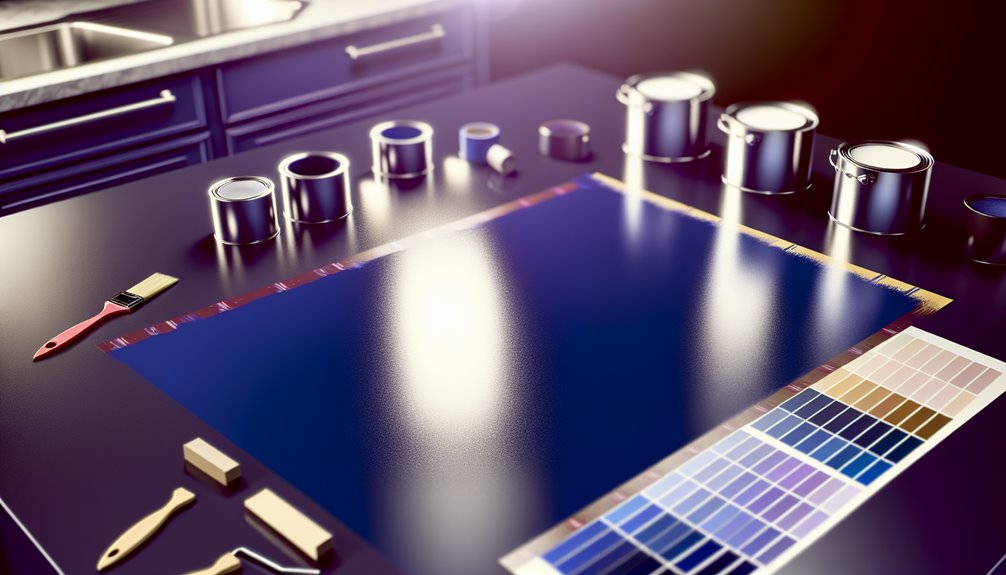
Having prepared your surfaces, it's time to explore the various types of countertop paint available. Two popular options you'll encounter are chalk paint and epoxy resin, each offering unique benefits for your DIY makeover.
Chalk paint is known for its matte finish and ease of use. It adheres well to many surfaces without the need for priming, making it a favorite for quick projects. You can customize the color to fit your kitchen's aesthetic, and it can create a rustic, vintage look.
However, keep in mind that chalk paint may require a topcoat to enhance durability, especially in high-use areas.
On the other hand, epoxy resin is a more sturdy choice. It provides a glossy, durable finish that's resistant to scratches, stains, and heat. This type of paint is perfect if you're looking for a long-lasting solution that mimics the look of natural stone.
However, epoxy resin can be trickier to apply and often requires precise mixing and curing times.
Choosing between chalk paint and epoxy resin depends on your desired look, durability requirements, and how much effort you're willing to invest in the application process.
Key Features to Consider
When choosing countertop paint, you'll want to focus on durability and resistance to wear, as your kitchen is a high-traffic area.
Also, consider the color and finish options available to guarantee your new look complements your style.
These key features will help you create a beautiful and long-lasting transformation.
Durability and Resistance
Durability and resistance are essential factors to take into account when selecting the best paint for your kitchen countertops. You want a solution that can withstand daily wear and tear, especially in a bustling kitchen environment.
Look for paints that offer long-lasting finishes. These products are designed to endure the rigors of cooking, cleaning, and everyday use without fading or chipping.
Scratch resistance is another critical feature. Kitchen countertops are prone to scratches from utensils, pots, and pans, so you need a paint that can handle such challenges.
A high-quality paint with excellent scratch resistance will keep your countertops looking fresh and new for years to come.
Before making your choice, consider checking product reviews and performance ratings. This research can help you find paints specifically formulated for high-traffic areas.
Color and Finish Options
Choosing the right color and finish for your kitchen countertops can transform the entire look of your space, so it's essential to evaluate your options carefully.
Start by considering color psychology; colors can influence mood and energy levels. For instance, soft blues and greens evoke calmness, while vibrant reds and yellows can energize the room. Think about how you want your kitchen to feel and select a color that aligns with that vibe.
Next, pay attention to finish textures. A glossy finish can give your countertops a sleek, modern look, while a matte finish offers a more rustic, understated feel. Each texture interacts differently with light, affecting how colors appear and how your space looks overall.
You might also want to mix and match finishes for added depth—perhaps pairing a glossy countertop with a matte backsplash.
Remember that the right combination of color and finish can enhance not just the aesthetic appeal but also the functionality of your countertops.
Take your time experimenting with samples to see how they work together in your kitchen's lighting before making a final decision.
Top Recommended Brands
In the realm of choosing the right kitchen countertop paint, you want options that are both durable and easy to apply.
Several brands stand out for their reliability and user-friendly products, making your DIY makeover a breeze.
Let's explore the top recommended brands that can transform your countertops without the hassle.
Durable Paint Options
If you're looking to give your kitchen countertop a fresh look, selecting the right paint can make all the difference in achieving a long-lasting finish. Durable paint options not just enhance the aesthetic but also withstand daily wear and tear.
Here are some top recommended brands you should consider:
- Rust-Oleum Countertop Coating: Known for its high gloss finishes that mimic the look of granite.
- Duncan's Chalkboard Paint: Offers a unique, writable surface and provides an eco-friendly option.
- Benjamin Moore Advance: This water-based paint combines durability with a smooth finish, perfect for busy kitchens.
- Behr Premium Plus: A versatile choice that comes in various colors, offering excellent coverage and durability.
When you choose a durable countertop paint, make sure it's resistant to stains, scratches, and heat.
High gloss finishes not just look stunning but are also easier to clean.
Plus, opting for eco-friendly options guarantees you're making a responsible choice for your home and the environment.
With these recommendations, you're well on your way to a beautiful and resilient kitchen countertop makeover.
Easy Application Products
Transforming your kitchen countertops doesn't have to be an intimidating task, especially with the right easy application products. When you're looking for paint that simplifies the process, consider brands that offer user-friendly solutions. Here are some top recommendations that use easy application techniques and come with quick drying options, so you can enjoy your new countertops sooner.
| Brand | Key Features |
|---|---|
| Rust-Oleum Countertop | Easy to apply, self-leveling formula |
| Giani Granite Paint | Simple roll-on application, quick drying |
| Krylon Fusion | No primer needed, fast-drying |
| Behr Premium | Excellent adhesion, low odor |
| DecoArt Americana | Eco-friendly, versatile finishes |
These products are designed for DIY enthusiasts like you, making it easy to achieve a professional look without the stress. Remember to follow the manufacturer's instructions for the best results. With these easy application products, you'll be on your way to a fresh, new countertop finish in no time!
Step-by-Step Application Guide
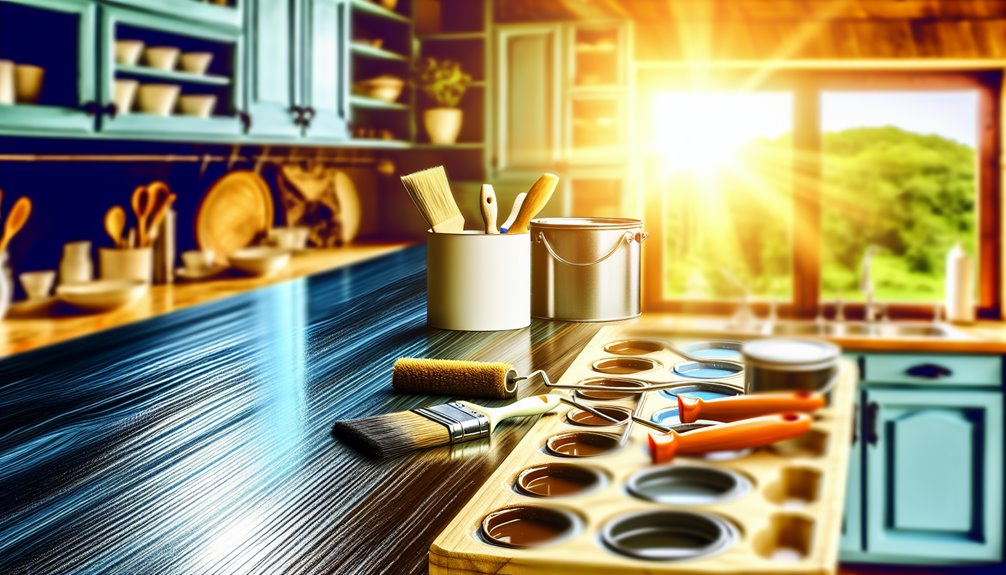
Before diving into your DIY kitchen countertop makeover, it's vital to prepare for a smooth application process. Follow these steps to achieve stunning results:
- Gather the right supplies: countertop paint, primer, brushes, and rollers.
- Clean your countertop thoroughly to remove grease and dirt.
- Sand the surface lightly to promote adhesion.
- Apply a primer for a solid base.
Once you've prepped your surface, it's time to focus on application techniques. Start by applying a thin coat of primer using a brush or roller. Allow it to dry completely, usually about 2-4 hours, before moving to the next step.
Next, use a high-quality countertop paint, applying it in thin, even layers. This guarantees a smooth finish and reduces the risk of drips.
Remember to follow the manufacturer's instructions regarding drying times and the number of coats needed. After the final coat, let your countertop cure for at least 48 hours before using it.
With proper surface preparation and attention to application techniques, you'll achieve a beautiful and durable result that will transform your kitchen. Happy painting!
Maintenance and Care Tips
After you've successfully painted your countertops, the next step is ensuring they stay looking fresh and vibrant for years to come. Regular maintenance is key, so let's explore some effective cleaning techniques and surface protection strategies.
First off, always use gentle cleaning products. Avoid harsh chemicals that can damage the paint. A mixture of warm water and mild soap works wonders. Use a soft cloth or sponge to wipe down the surface regularly. It's best to clean up spills immediately to prevent staining or damage.
For added surface protection, consider applying a clear sealer after the paint has fully cured. This helps prevent scratches and wear, keeping your countertop looking new. Reapply the sealer every few months, or as recommended by the manufacturer.
When using appliances or cutting boards, always place mats or trivets underneath to minimize wear and tear. Be mindful of sharp objects that can scratch the surface—use cutting boards for food prep instead.
Cost Considerations
When considering a DIY countertop paint project, it's vital to factor in the overall costs involved. A thorough budget analysis can help you avoid surprises and guarantee that your project stays on track.
Here's an expense breakdown of what you can expect:
- Paint Costs: Depending on the brand, quality, and quantity, prices can vary greatly.
- Supplies: Don't forget brushes, rollers, painter's tape, and a drop cloth.
- Prep Materials: You might need sandpaper, primer, and cleaner to prepare the surface properly.
- Sealer: A good sealer is fundamental for durability, adding to your total expense.
Inspiring Before-and-After Examples
Transforming your kitchen countertop with paint can yield stunning results, and seeing real-life examples can be incredibly motivating. Before-and-after transformations showcase the dramatic changes you can achieve with a little creativity and effort. When you look at these visual inspirations, you'll see how dated, dull surfaces can become sleek and modern statement pieces.
Many DIY enthusiasts have successfully tackled their countertop projects, using various paint techniques and colors to fit their style. For instance, a once-plain laminate countertop can be revitalized with a bold color or a faux marble finish, completely altering the kitchen's vibe.
You'll find that some have even combined stencils with paint to add personalized designs, making their counters unique. As you browse through these inspiring transformations, consider how you can apply similar techniques in your own kitchen.
Don't underestimate the power of paint; it's an affordable way to refresh your space. Whether you're seeking a rustic farmhouse look or a chic contemporary feel, these before-and-after examples can guide your journey.
Frequently Asked Questions
Can Countertop Paint Be Used on Other Surfaces?
Countertop paint's versatility is impressive, and it can often be used on various surfaces, like tables, shelves, and even furniture.
However, surface compatibility matters; you'll want to guarantee the material is smooth, clean, and properly prepped for adhesion.
Always check the manufacturer's guidelines for specific recommendations and limitations.
How Long Does Countertop Paint Last?
Imagine transforming your kitchen only to watch it fade away. Countertop paint can last anywhere from 3 to 10 years, depending on durability factors like surface preparation and application.
To maximize its lifespan, follow maintenance tips such as regular cleaning with mild soap and avoiding harsh chemicals.
Is Countertop Paint Safe for Food Preparation Areas?
When considering countertop paint for food preparation areas, it's essential to think about food safety.
Most countertop paints contain ingredients that may not be safe for direct food contact. However, some brands offer food-safe options specifically designed for kitchen use.
Always check the label for certifications and verify the paint is non-toxic. Taking these precautions will help you create a beautiful, safe space for meal prep without compromising your health.
Can I Apply Countertop Paint Over Existing Laminate?
Isn't it amazing how a simple change can transform your space?
Yes, you can apply countertop paint over existing laminate, but proper laminate preparation is key.
Start by cleaning the surface thoroughly and sanding it lightly to guarantee the paint adheres well.
Follow with a primer designed for laminate before beginning your paint application.
This way, you'll achieve a durable finish that revives your countertops and enhances your kitchen's overall aesthetic.
What Tools Do I Need for Applying Countertop Paint?
To successfully apply countertop paint, you'll need some essential painting tools.
Start with a high-quality paintbrush for precision and a foam roller for even coverage. A painter's tape will help you create clean edges, while a sanding block guarantees proper surface preparation.
Don't forget a drop cloth to protect your workspace and a mixing stick for your paint.
Mastering these paint application techniques will give you a professional-looking finish you'll love!
Conclusion
To sum up, choosing the best kitchen countertop paint can transform your space without breaking the bank. While some may doubt a DIY approach, countless successful makeovers prove it's possible with the right products and techniques. Embrace your creativity, and don't shy away from experimenting with colors and finishes. With a little patience and care, you can achieve stunning results that make your kitchen feel brand new. So, roll up your sleeves and get started on your project!